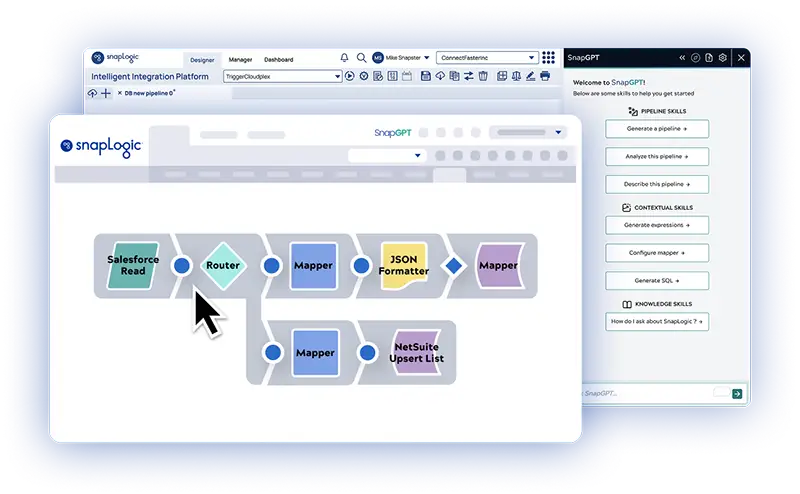


As enterprises embark on their digital transformation journey, only an API-centric platform can truly help deliver the best results while enhancing the “Integration Experience” for both the citizen integrator and the developer community. API creation is one of the many tangible benefits obtained from the SnapLogic Enterprise Integration Cloud platform.
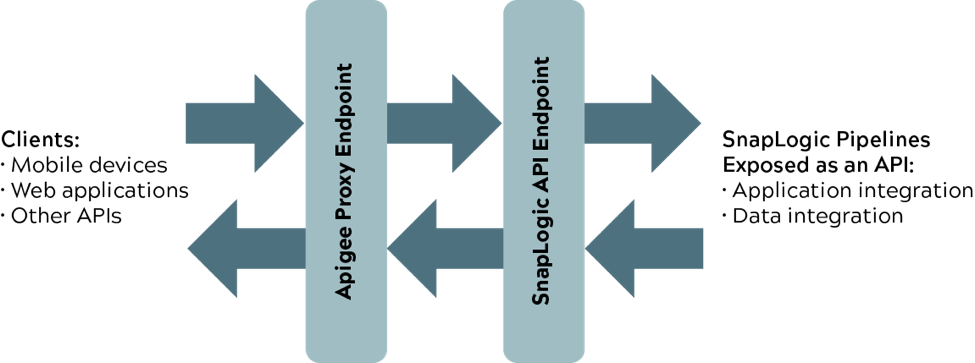
With our May 2018 release, we started offering a seamless integration between SnapLogic and Apigee, a full lifecycle management platform. Together we create a best-of-breed solution, enabling full-lifecycle API management capabilities for our customers. By leveraging this engineered integration, customers can easily create API proxies and API products in Apigee from the APIs created in SnapLogic.
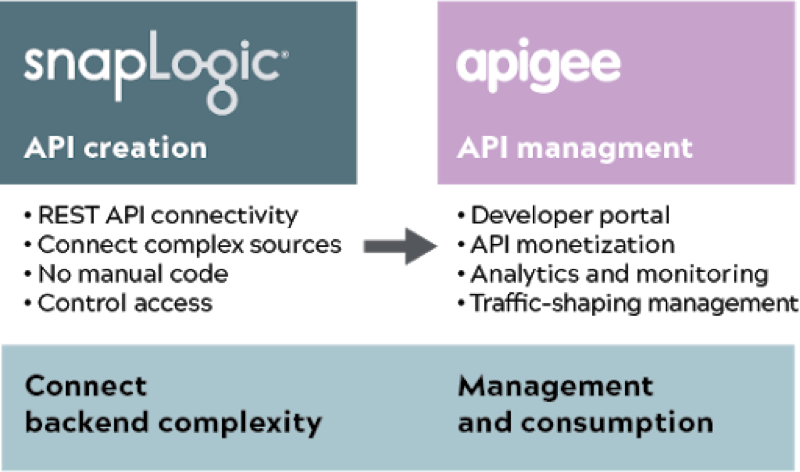
The following image highlights how some of the combined capabilities from this integration can benefit enterprises who are undertaking digital transformation across their organization:
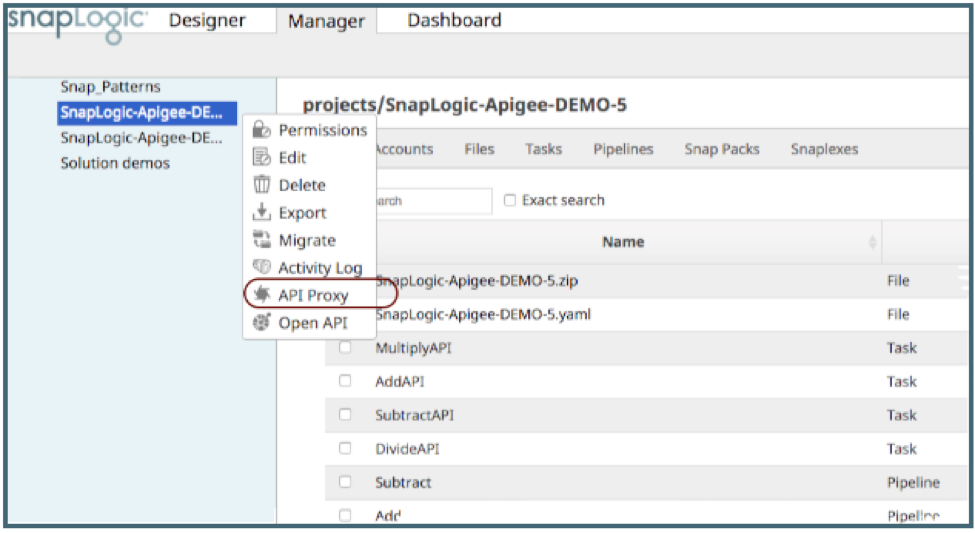
To use this built-in capability, identify the project for which an API proxy needs to be created in the SnapLogic Manager. Once the user identifies the project, click on the “API Proxy” option to initiate a wizard from the project’s context menu:
Users can easily provide required inputs through a wizard, including:
- Selecting a “Rest Basic Auth” account to allow connectivity between SnapLogic and Apigee
- Selecting an Apigee organization where the API proxy needs to be deployed
- Selecting SnapLogic Triggered and/or Ultra tasks to be published as part of the API Proxy bundle
- Assigning a name to the API Proxy
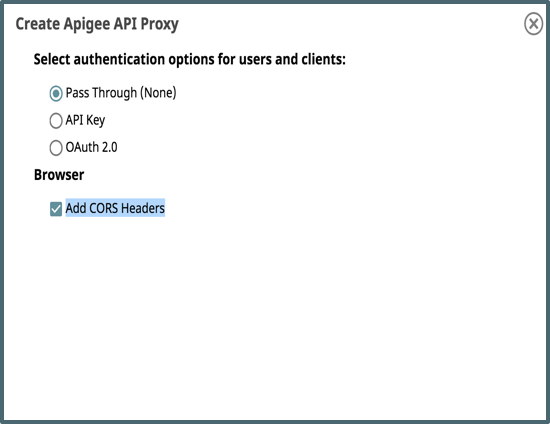
- Selecting an authentication option for clients/users that would be invoking the API Proxy. Users requiring to make invocations from a browser must select the “Add CORS Headers” option.
- Selecting virtual hosts that the API Proxy would bind to upon deployment. Users have the flexibility to choose if their API Proxies ought to be http, https, or both
- Selecting deployment environments prior to clicking on the “Build & Deploy” button to get the API Proxy created successfully
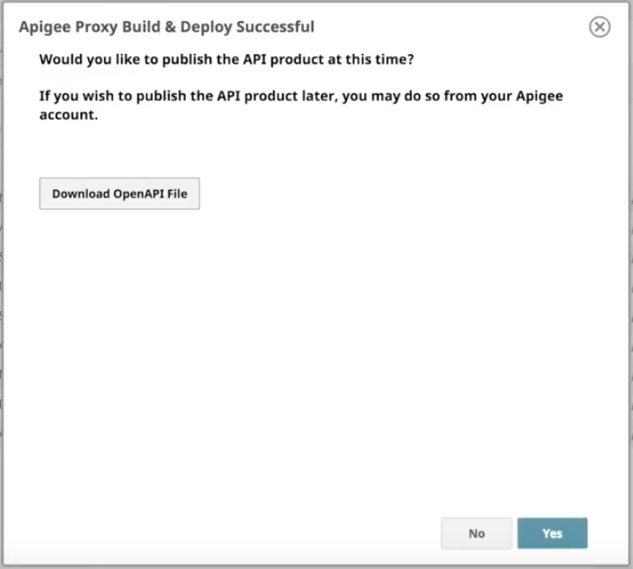
- Publishing an API Product is also available for users
Once the user adds all the required inputs, they will be able to download the OpenAPI file that can be published in Apigee!
Once the API Proxy is created, users can assign some of the following policies offered by the Apigee platform:
- Traffic Management – Quota, Throttling, Caching and much more
- Security – Basic Authentication, XML/JSON Threat Protection, OAuth2, and much more
- Mediation – JSON to XML, XML to JSON, and much more
- Extension – Service Callout, Flow Callout, Message Logging, and much more
In addition to the Apigee integration, users can download the OpenAPI specification file which can then be used across a variety of API Management platforms.
Watch our SnapLogic and Apigee integration how to demo video to learn more.
For a complete list of features and functionalities added to our most recent release, please see the May 2018 release notes.